Test Drawings to Scale
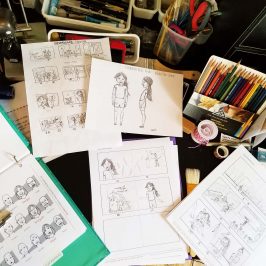
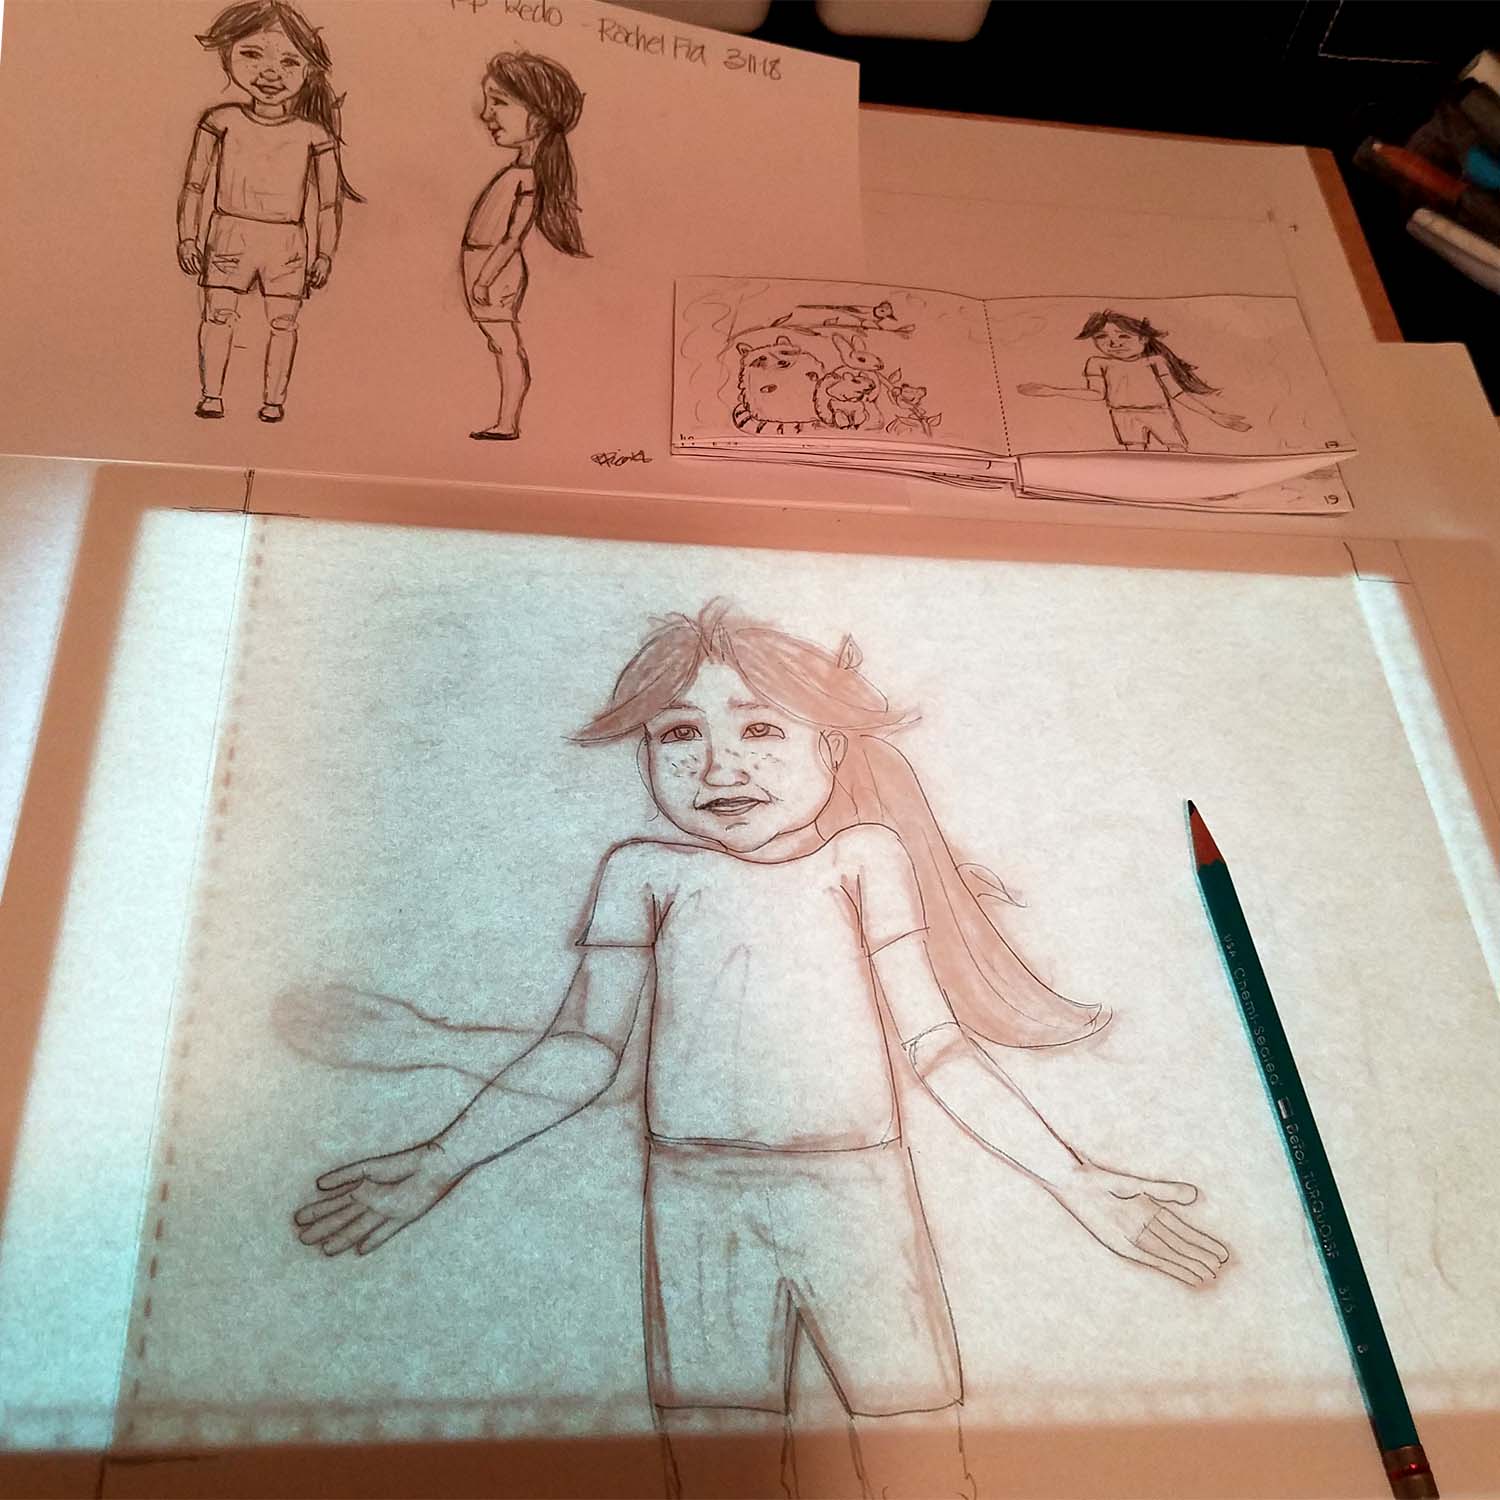
The fourth step on the children’s book illustration process involves taking the small storyboard images and enlarging them to match the scale of the book size. The images will be fuzzy because they were just small, quick sketches, and blowing them up may not be at the best size or proportion. That’s where the test drawings come in. An easy way to save time is to trace the enlarged image, and it also retains some of the character and feeling that the small image had. The traced image usually requires some changes and this is done in pencil on thin paper. It will result in a plain line drawing that will serve as the template.
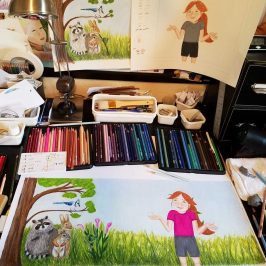
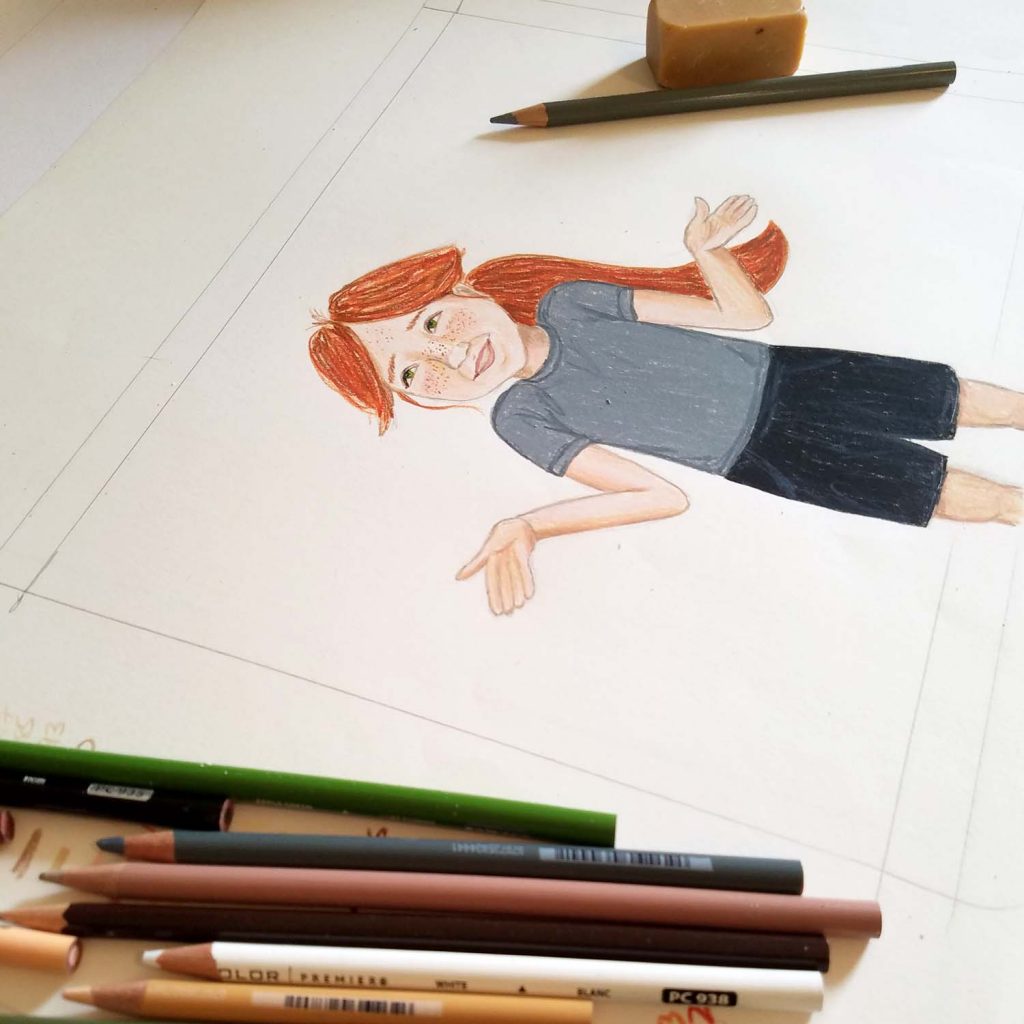
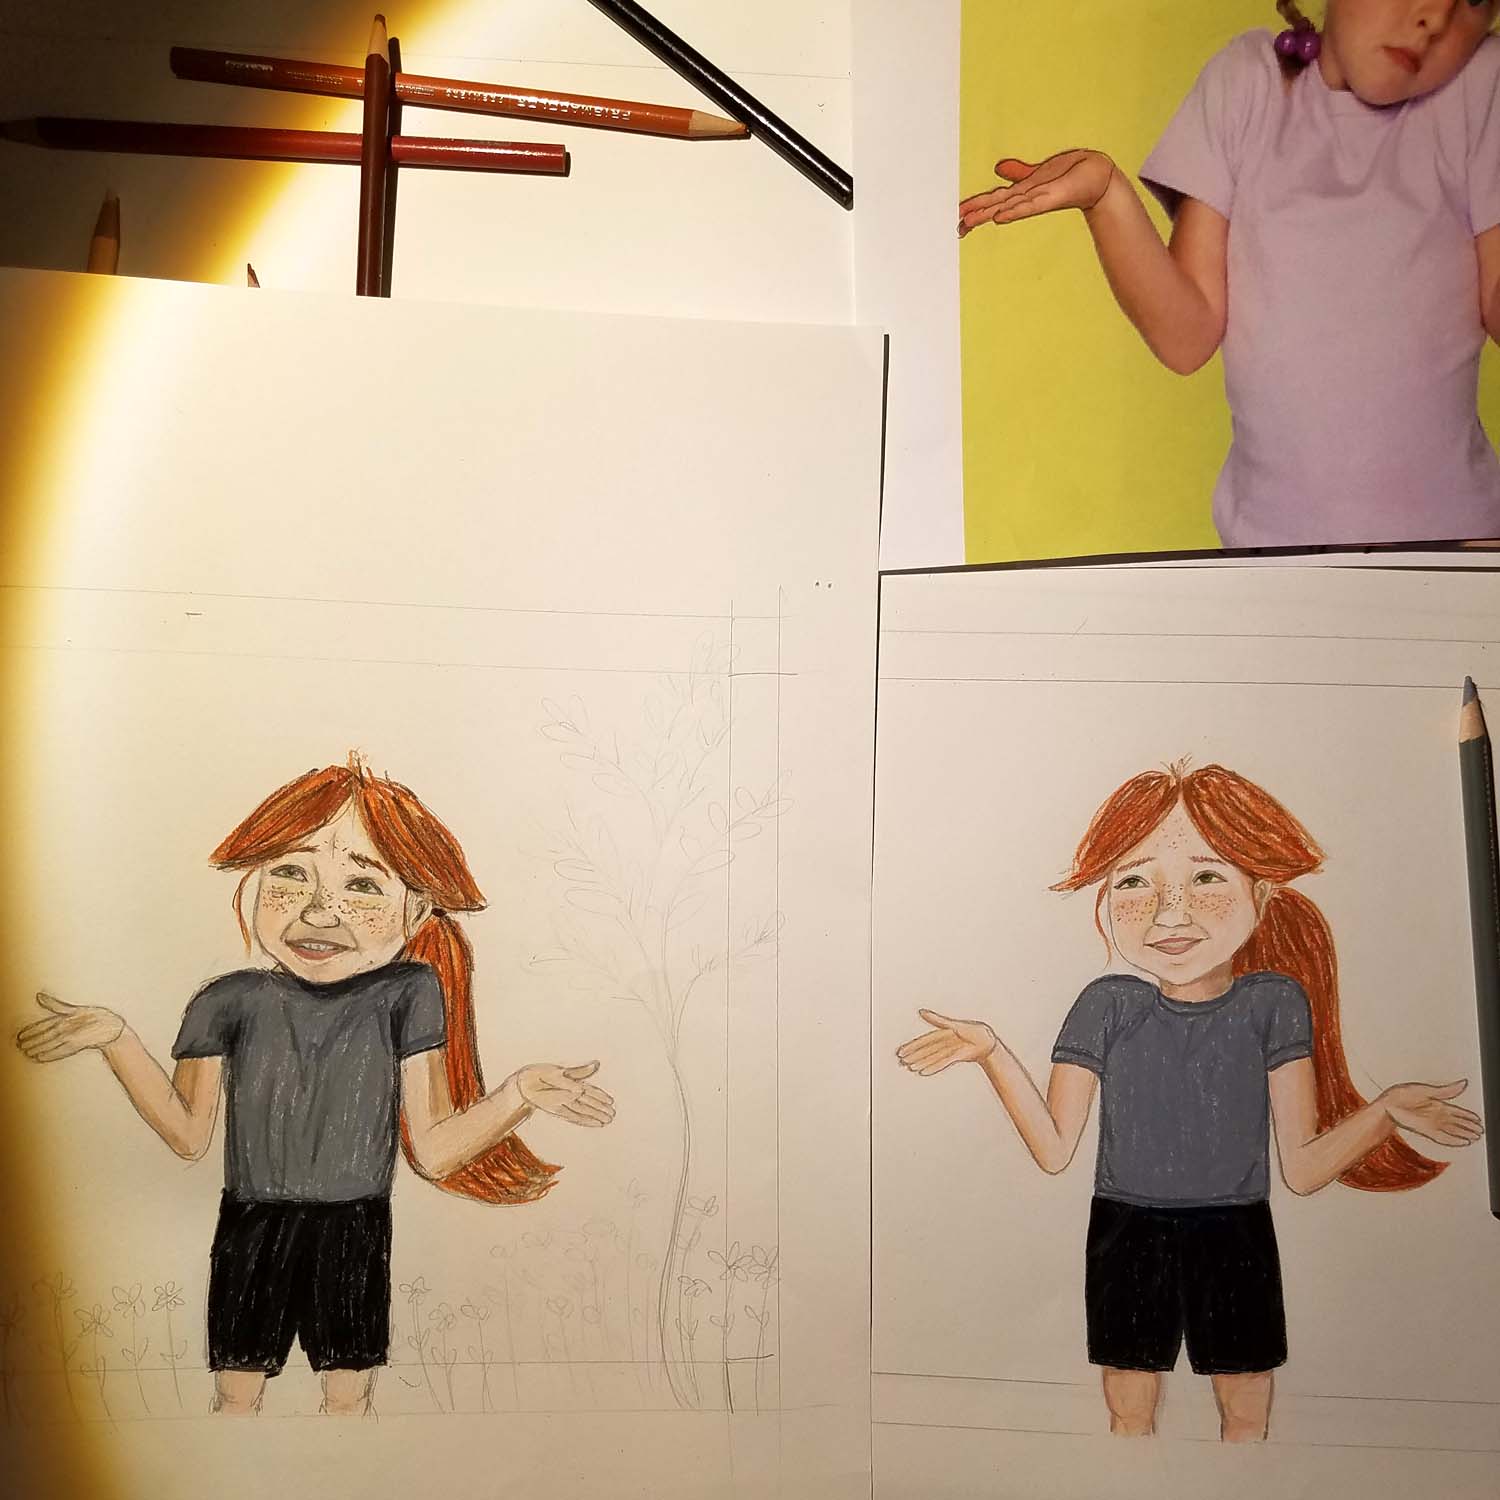
Next I will test out the colors of the skin, clothes, objects and landscape. I trace the line drawing onto a medium quality paper that is suitable for colored pencils. I use an index card to make swatch marks of the colored pencils that I am using and their corresponding pencil numbers. I keep the index cards so that I can quickly refer to them for each character when redrawing. They also come in handy to make sure that I use a different hair color or clothing color for each character in the book.
Once the color test drawing is complete, I can see if there are any additional changes that need to be made. Some things don’t go as planned and I need to do a few test drawings to work out things like perspective, proportion, and mood. The test drawing creates a solid first draft to show the author to see if we are on the same page with the look and feel of the book.


Read the previous blogs on the Children’s Book Illustration process:
Children’s Book Illustration Demo – Part 1 Character Study