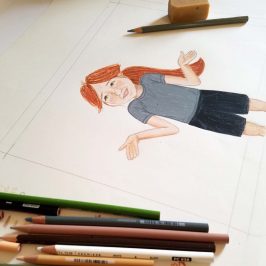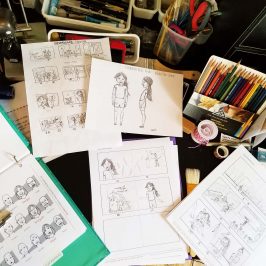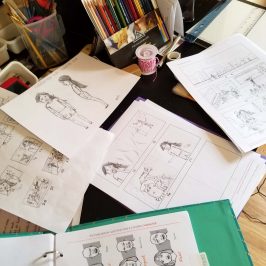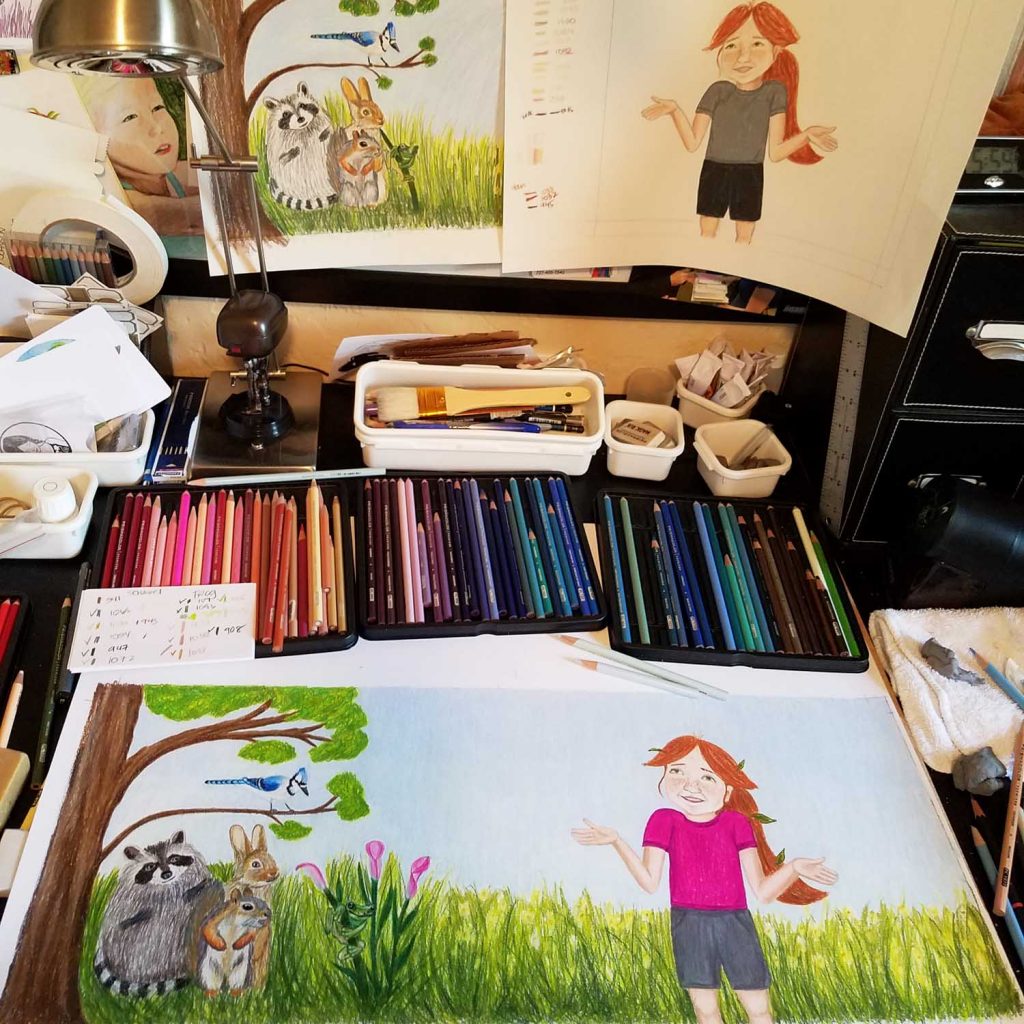
The fifth step of illustrating a children’s book is creating the final artwork. I’m working with traditional media, in this case colored pencils. After I create the test drawing (see my previous blog for step 4), then I make any changes to the final line art while tracing the test drawing.
To create the final illustration, I use Prisma Color Premier colored pencils on quality paper, such as Strathmore Mixed Media paper 400 Series. It is a 184lb / 300gsm paper and is smooth for the colored pencils with a durable thickness to endure heavy coloring and erasing.
Once the final illustration is completed, then the digitization process begins. The illustration needs to be scanned at a minimum 300dpi or photographed with a high quality camera. Scanning is the preferred method, but for large drawings, a professional imaging company would be needed. In this case, for a large 18×24 practice drawing, I used a high resolution DSLR camera and a tripod with a 90° arm.
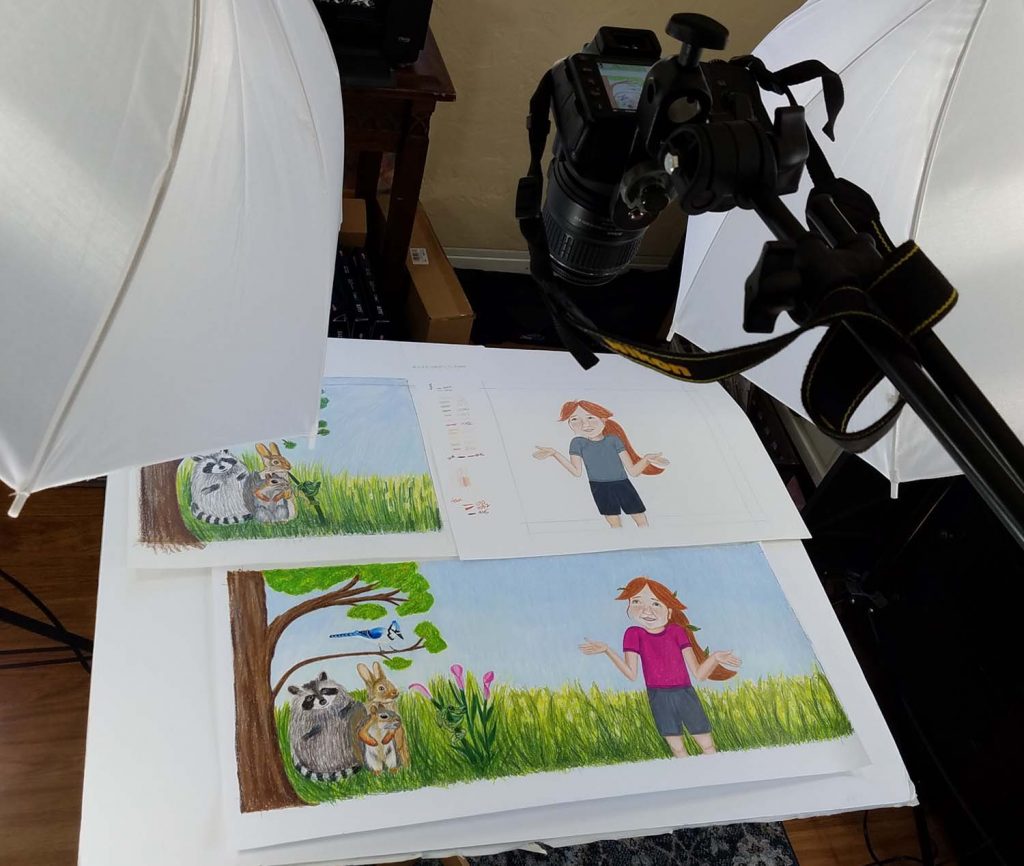
Once the file is digitized, then there’s an opportunity to clean it up and edit it digitally. The color is modified to match the original and settings are added to the image file to get it ready for printing. It is now a final piece of artwork!
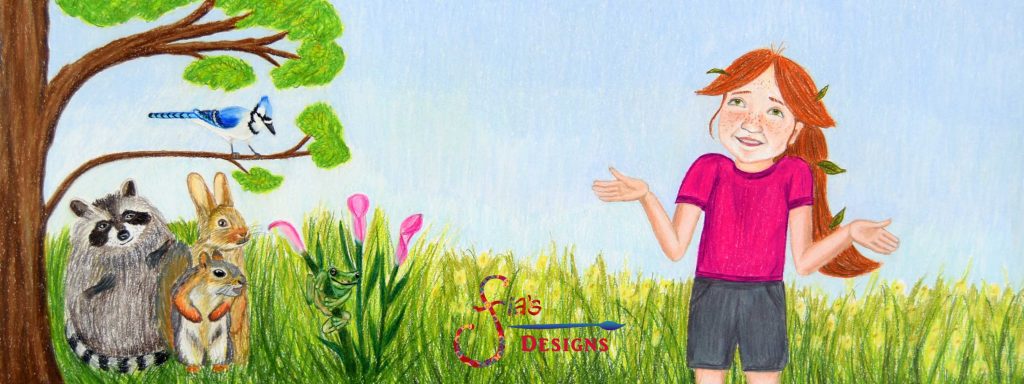
Illustrating a children’s book is a huge undertaking. This multi-step illustration process is just for one double page spread, and the process is repeated for all the 28-32 pages in a book plus the cover. After all the final artwork is created, then the pages are sent to a designer who creates the layout of the book and adds the text for each page and covers.
After all that work, then the book is sent to a publisher or uploaded for self-publishing. Then the magic happens when you receive your hardcopy book with all the heart and soul that you poured into it, and it comes alive! Best wishes on your picture book journey!
Read the previous blogs on the Children’s Book Illustration process:
Children’s Book Illustration Demo – Part 1 Character Study
Children’s Book Illustration – Part 2 Story Mapping
